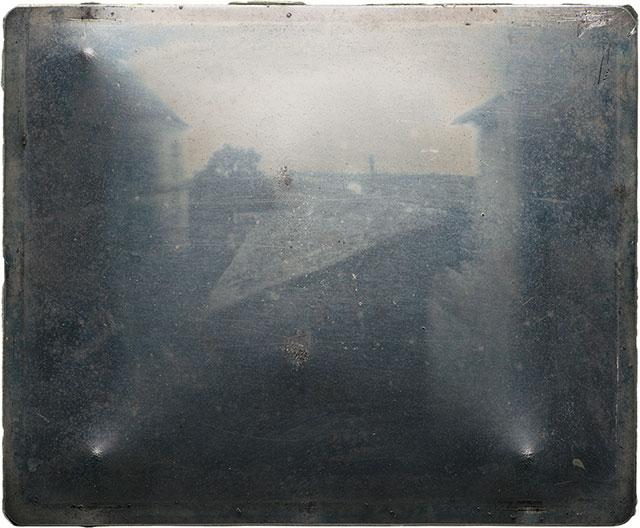
LINE
Line is the most important element of all and also the most strongest in its meaning. Your eyes follow the line whether it is visible or invisible. Based on its character and direction, lines communicate emotions making it one of the strongest elements of design.
Horizontal lines suggest feeling of restfulness or calmness, vertical lines suggest feeling of power, and diagonal lines suggest feeling of movement and direction. Soft curved lines represents relaxing or soothing feel whereas acute or jagged lines suggest frenzy or chaotic feeling and so on.
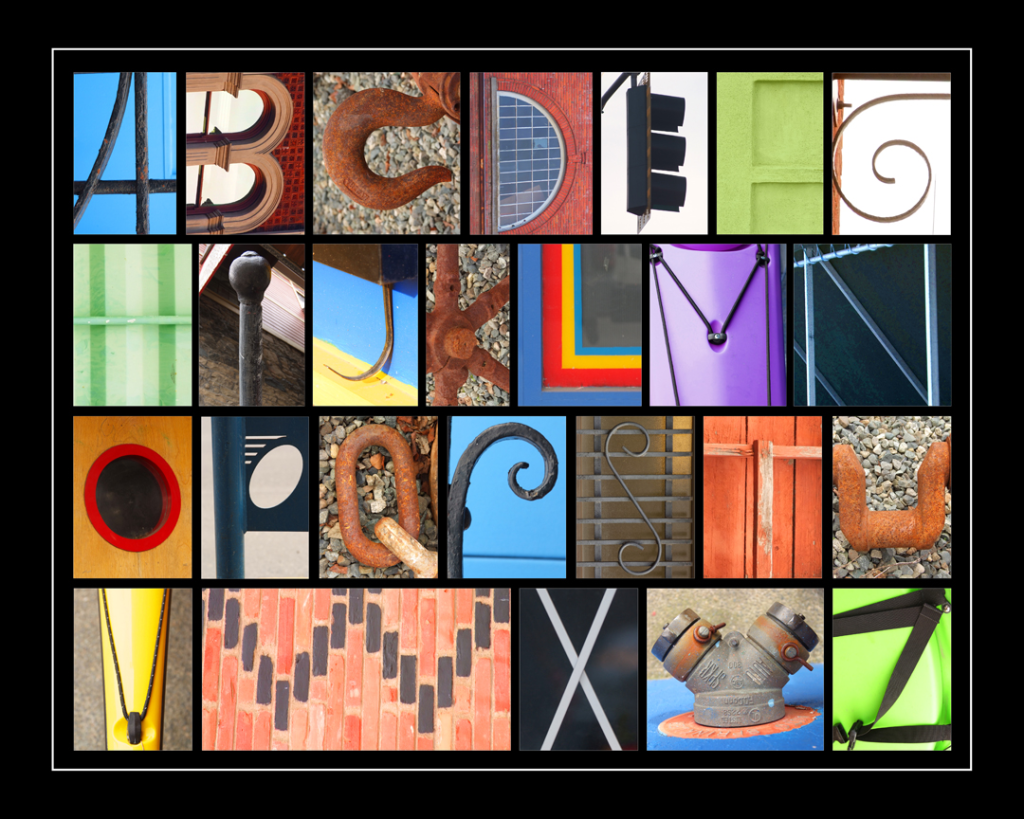
SHAPE
Shape is a two dimensional representation of an object. Kids draw primarily using the shapes like an outline of a farm house, a tree, sun, etc. The outer line of an object forms the shape.
In photography, you can represent interesting shapes of the objects by using silhouette effect due to backlighting. Silhouette photographs make an impact when the shape of the subject (object) is clearly defined in contrast with the background.
FORM
Form is a three dimensional representation of an object. A third dimension (thickness) to the Shape yields Form.
Photography (and art) is a two dimensional form lacking the depth which poses a challenge to you as a photographer to somehow represent the third dimension by creating an illusion of depth.
By using light and shadow you can create an illusion of depth in your photograph.
TEXTURE
Texture represents the details that are present on the surface of an object. You can use texture to create photographs that are visually interesting.
Direction of light plays an important role in bringing out the textures. Based on the mood you want to convey in your photograph, you will either wait for the light that will emphasize the roughness or softness of an object.
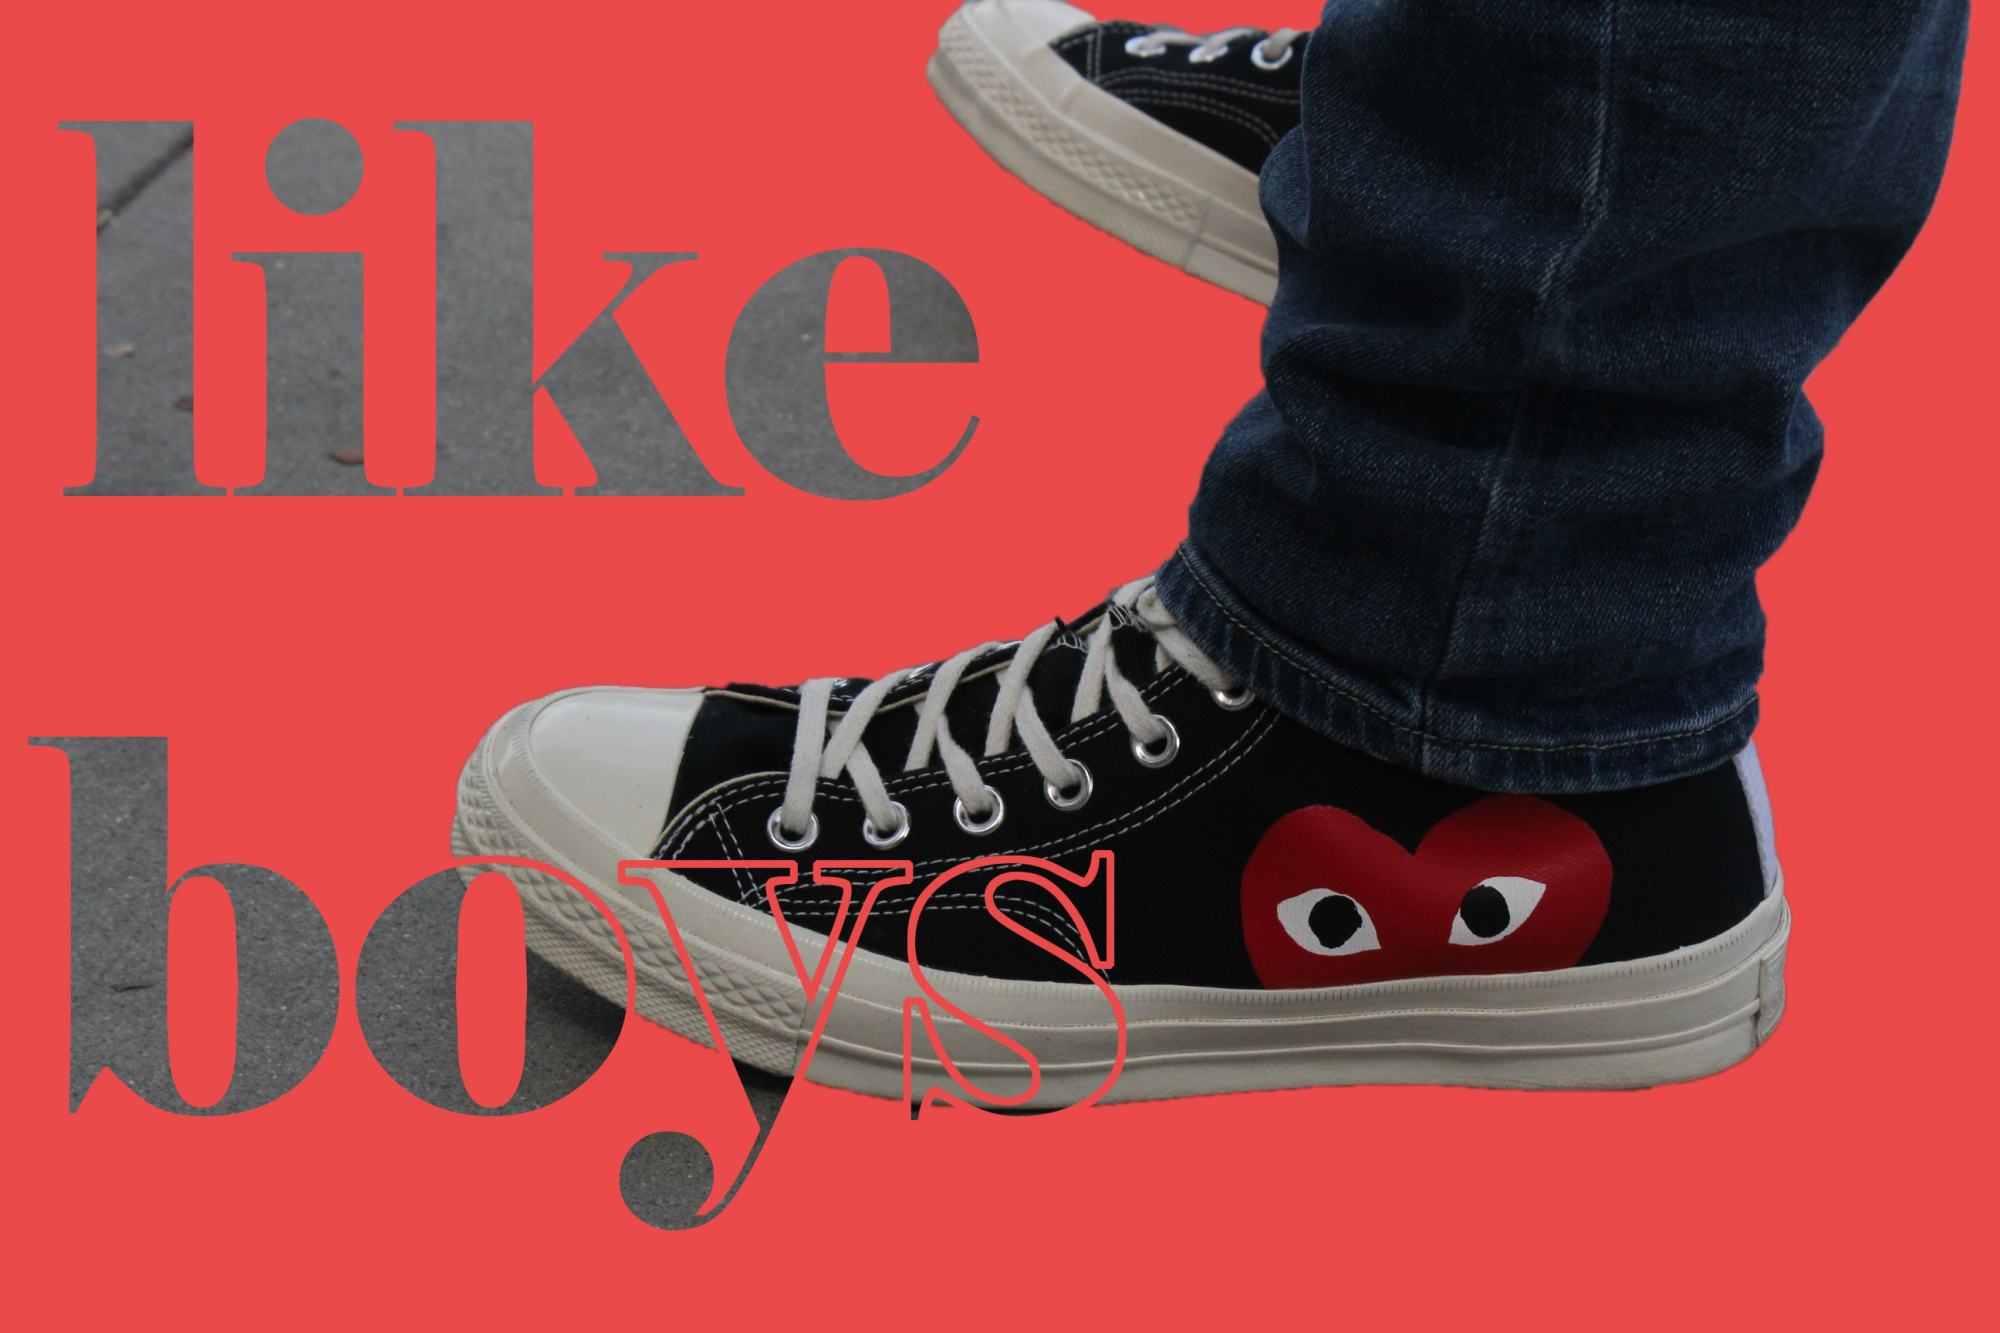
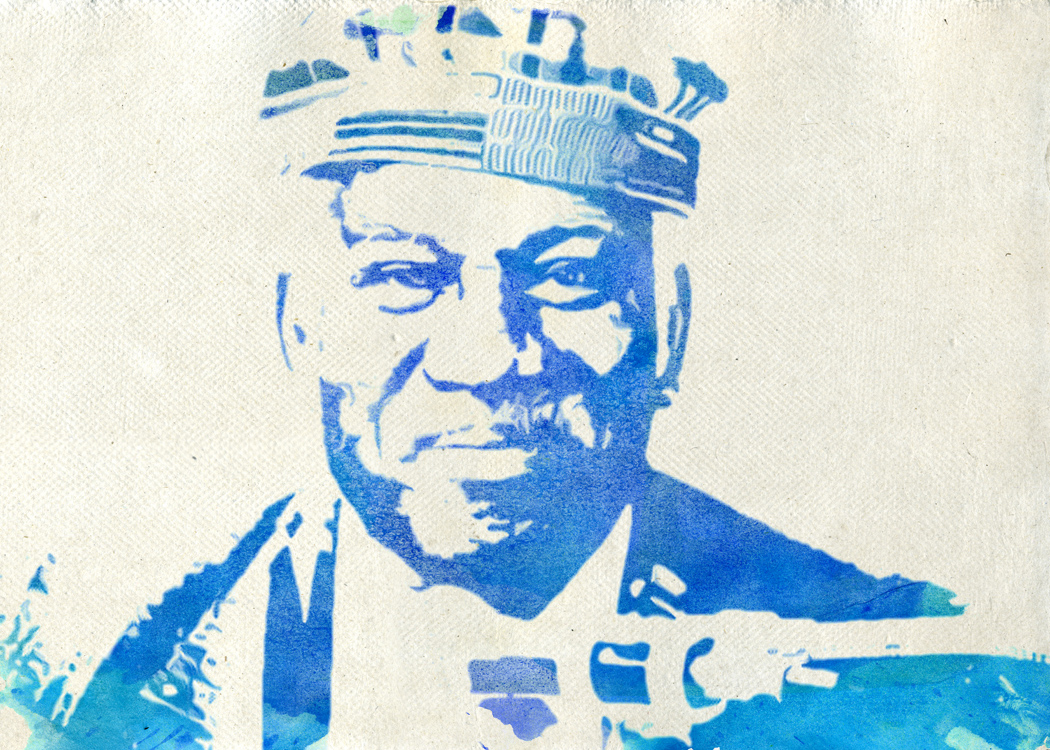
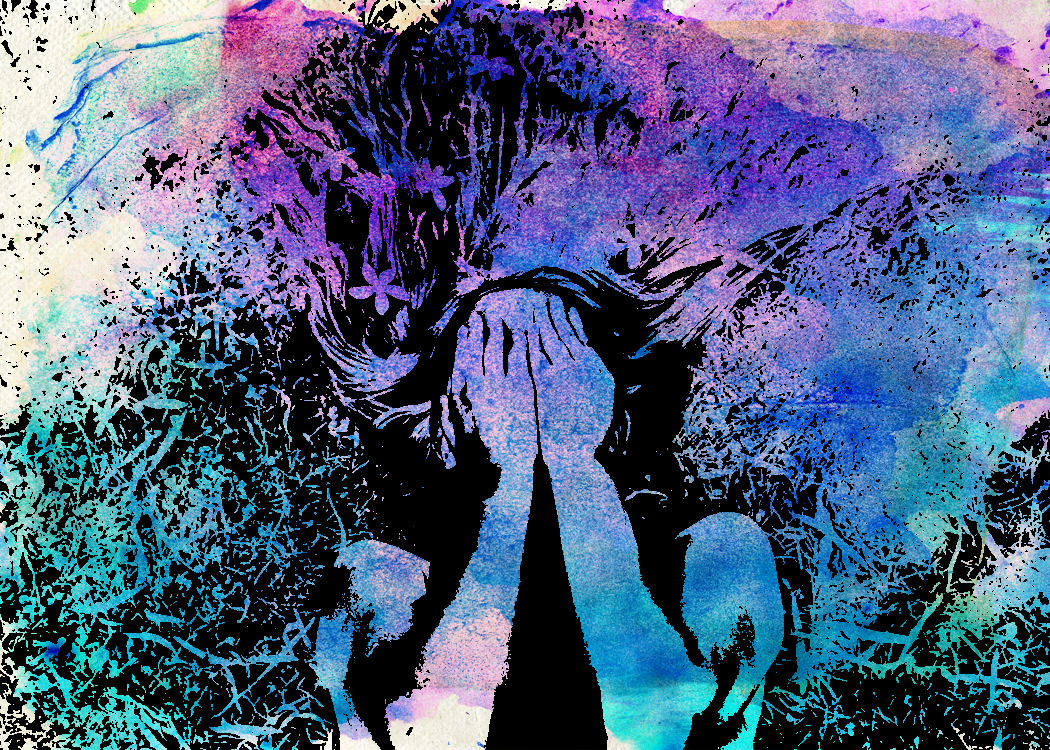
COLOR
Color is a major design element that we love. Colors play an important role to set the mood of the photograph.
The colors can be broadly classified as warm colors and cool colors. Red, Orange, and Yellow are the warm colors that suggest the feeling of warmth, liveliness, and energetic whereas Blue and Green are cool colors that suggest the feeling of calmness, tranquility, and sad/gloomy.
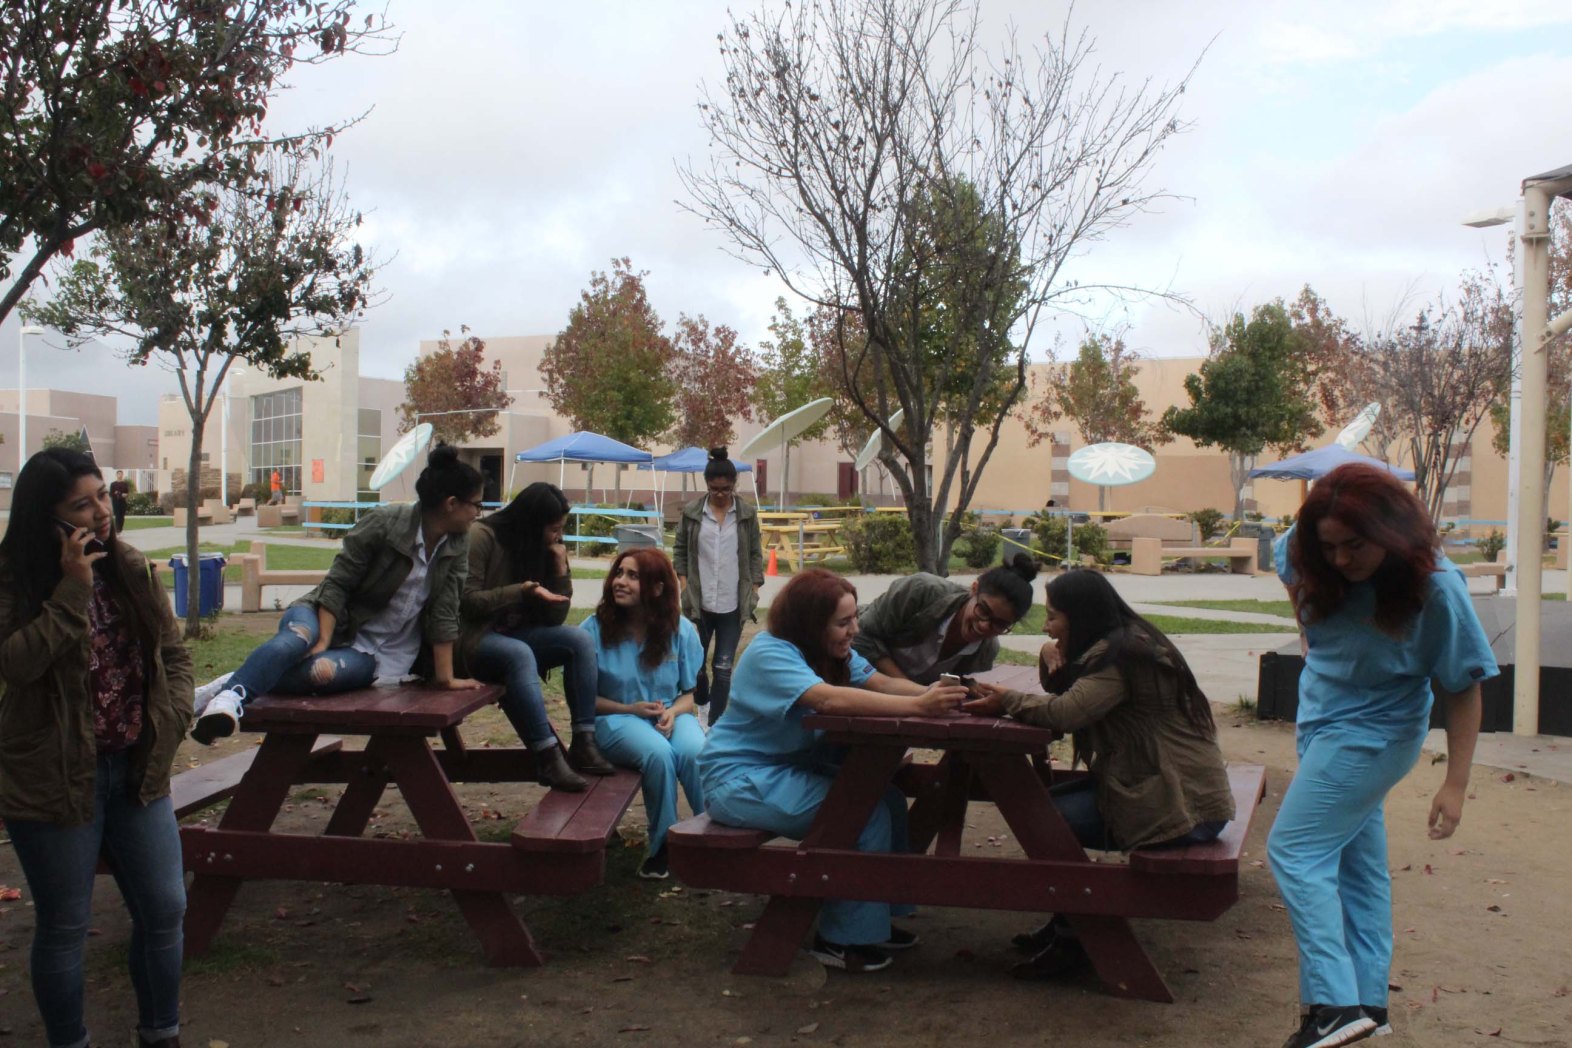
SPACE
Space is another important element of design that suggests the distance between the objects, perspective, and proportions of objects.
A subject represents the positive space in an image and the background represents the negative space. Negative space is as important as the positive space in defining the shape of the subject.

{“total_effects_actions”:0,”total_draw_time”:0,”layers_used”:0,”effects_tried”:0,”total_draw_actions”:0,”total_editor_actions”:{“border”:0,”frame”:0,”mask”:0,”lensflare”:0,”clipart”:0,”text”:0,”square_fit”:0,”shape_mask”:0,”callout”:0},”effects_applied”:0,”uid”:”278261CB-03F3-4141-B2ED-7EFEA1B8BB8C_1505006588289″,”width”:3344,”photos_added”:0,”total_effects_time”:0,”tools_used”:{“tilt_shift”:0,”resize”:0,”adjust”:0,”curves”:0,”motion”:0,”perspective”:0,”clone”:0,”crop”:0,”enhance”:0,”selection”:0,”free_crop”:0,”flip_rotate”:0,”shape_crop”:0,”stretch”:0},”source”:”editor”,”origin”:”gallery”,”height”:2508,”subsource”:”done_button”,”total_editor_time”:513,”brushes_used”:0}

{“total_effects_actions”:0,”total_draw_time”:0,”layers_used”:0,”effects_tried”:0,”total_draw_actions”:0,”total_editor_actions”:{“border”:0,”frame”:0,”mask”:0,”lensflare”:0,”clipart”:0,”text”:0,”square_fit”:0,”shape_mask”:0,”callout”:0},”effects_applied”:0,”uid”:”278261CB-03F3-4141-B2ED-7EFEA1B8BB8C_1504845288529″,”width”:2508,”photos_added”:0,”total_effects_time”:0,”tools_used”:{“tilt_shift”:0,”resize”:0,”adjust”:0,”curves”:0,”motion”:0,”perspective”:0,”clone”:1,”crop”:0,”enhance”:0,”selection”:0,”free_crop”:0,”flip_rotate”:0,”shape_crop”:0,”stretch”:0},”source”:”editor”,”origin”:”gallery”,”height”:3344,”subsource”:”done_button”,”total_editor_time”:124,”brushes_used”:0}
VALUE
The lightness or darkness of tones or colors. White is the lightest value; black is the darkest. The value halfway between these extremes is called middle gray. Values help create forms and differentiate space or distance. Gradation of values within a space or shape create forms, or the illusion of volume and mass.
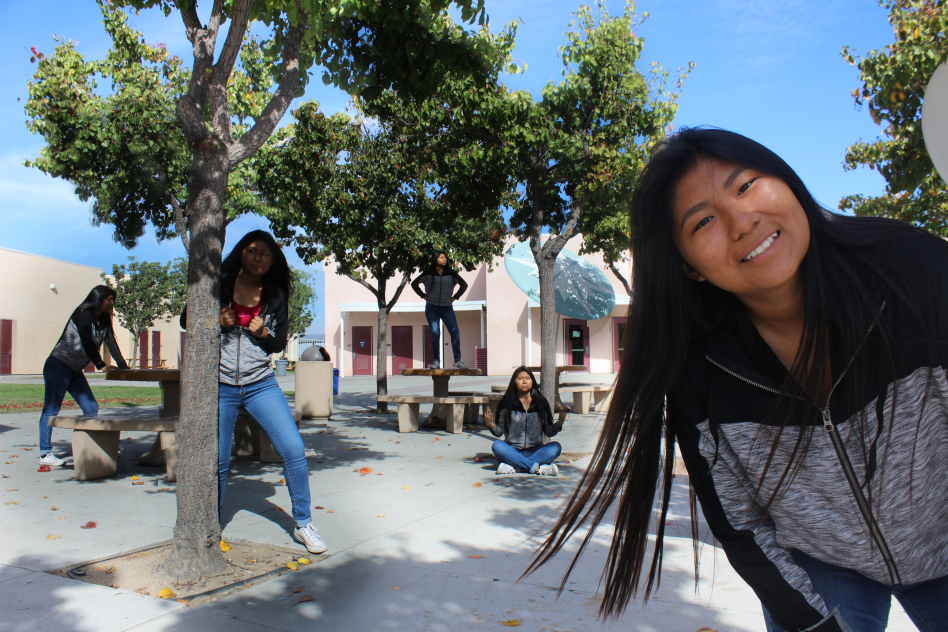
GOAL: You will create a set of 5 photographs for each Element of Art. Please title your assignment Elements of Art then type your element and it’s definition along with your 5 photographs the represent the element visually. There are 7 Elements of Art so you should have 35 wonderful visual examples.


")
")

")
")
")
")
")
")
")
")
")
")
")
")
")
")
")
")
")
")
")
")
")
")
")
")
")
")


")
")
")
")
")
")
")